Creating a GKE Cluster on Google Cloud
This guide walks you through the step-by-step process of creating a Google Kubernetes Engine (GKE) cluster on GCP — from setting up permissions to launching your cluster.
Before You Start (Requirements)
Make sure you have the following:
- Access to a GCP Organization with an existing Project.
- Access to a Billing Account.
- Permission to manage IAM roles, service accounts, and billing settings.
Step 1: Choose Your Project
- Go to the Google Cloud Console.
- At the top of the page, select the project you'll use for your GKE cluster.
- If needed, also choose the folder that contains your project.
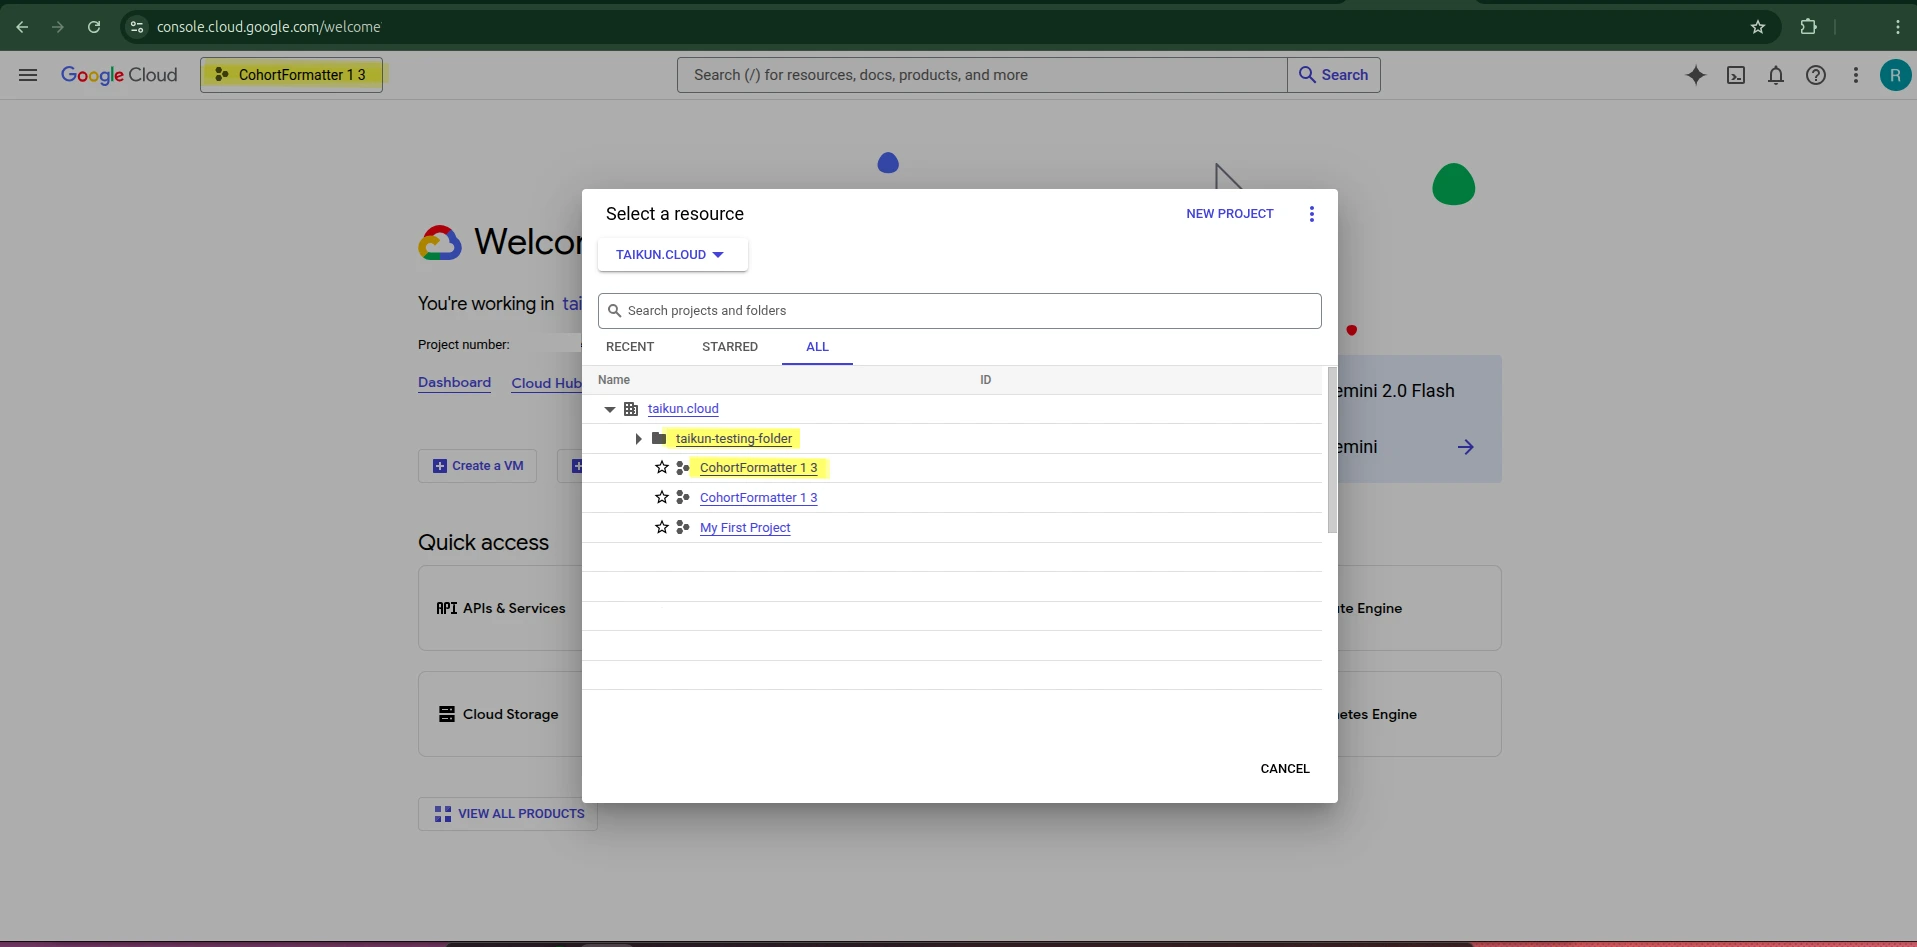
Choose Project
Step 2: Create a Service Account
- Navigate to IAM & Admin > Service Accounts.
- Click "Create Service Account".
- Enter a name and description for the account.
- In the permissions step, assign these roles:
- Create Service Accounts
- Editor
- Owner
- Service Account User
- Viewer
- Complete the creation process.
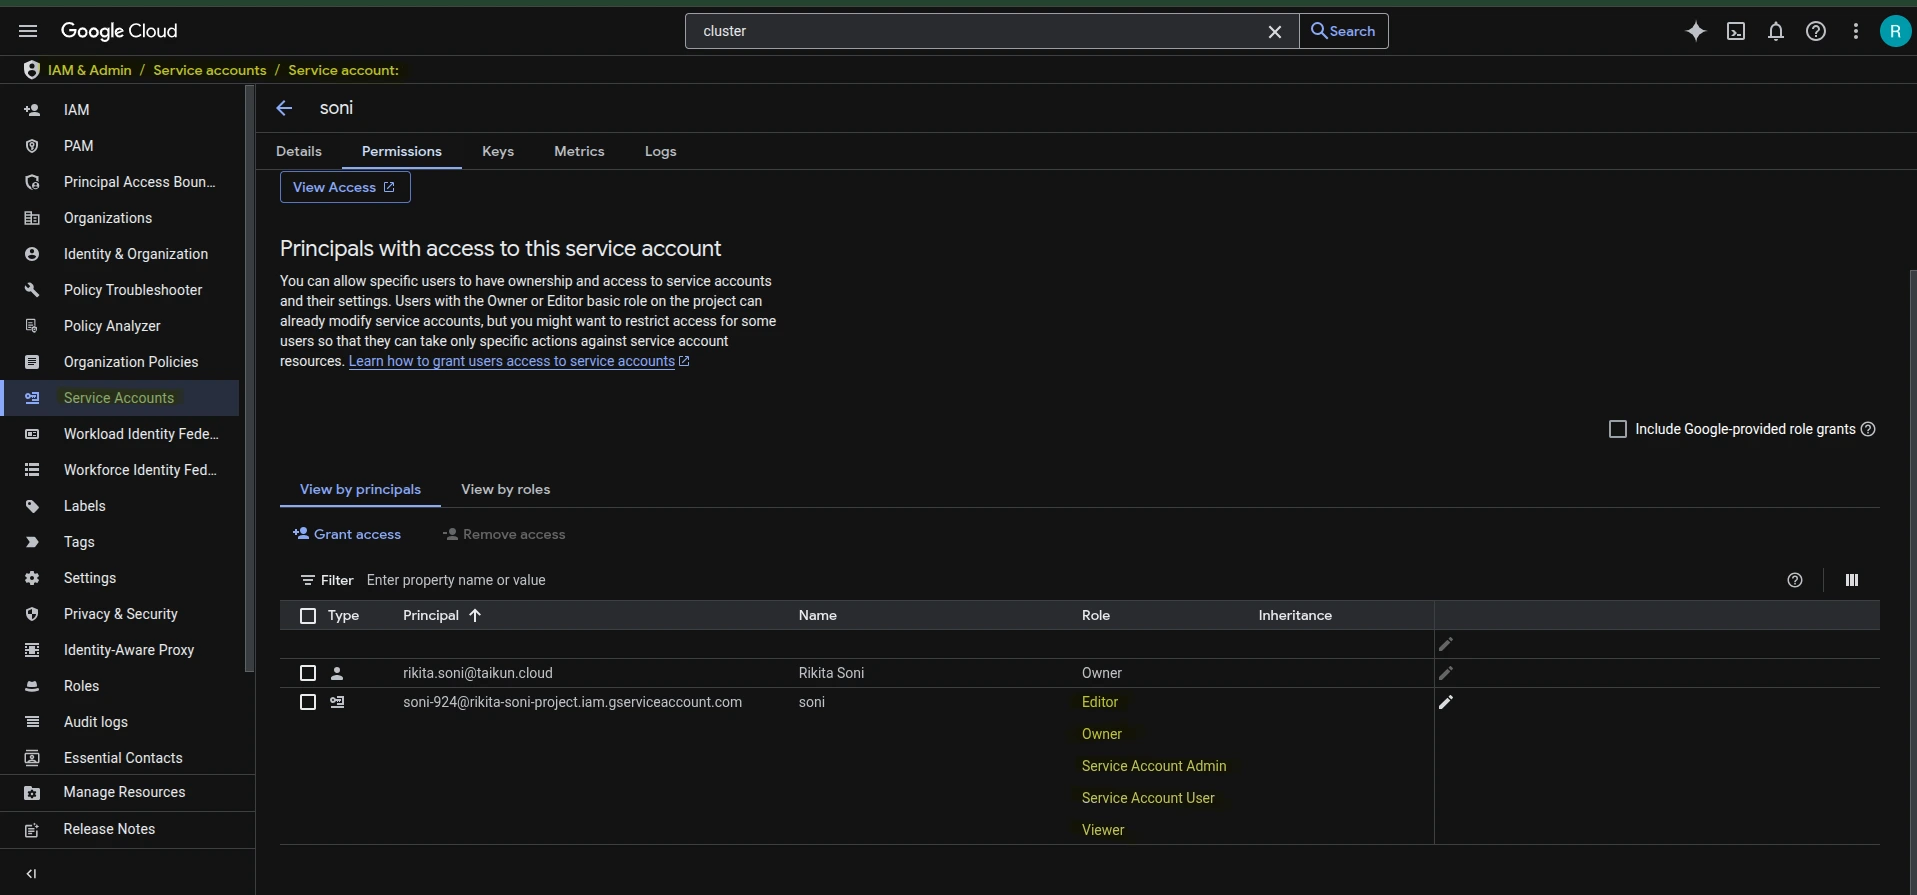
Create a Service Account
Step 3: Grant IAM Roles to the Service Account
- Go to IAM & Admin > IAM.
- Click "Grant Access".
- Add the new service account as a principal.
- Assign these additional roles:
- Browser
- Compute Admin
- Editor
- Owner
- Project Billing Manager
- Viewer
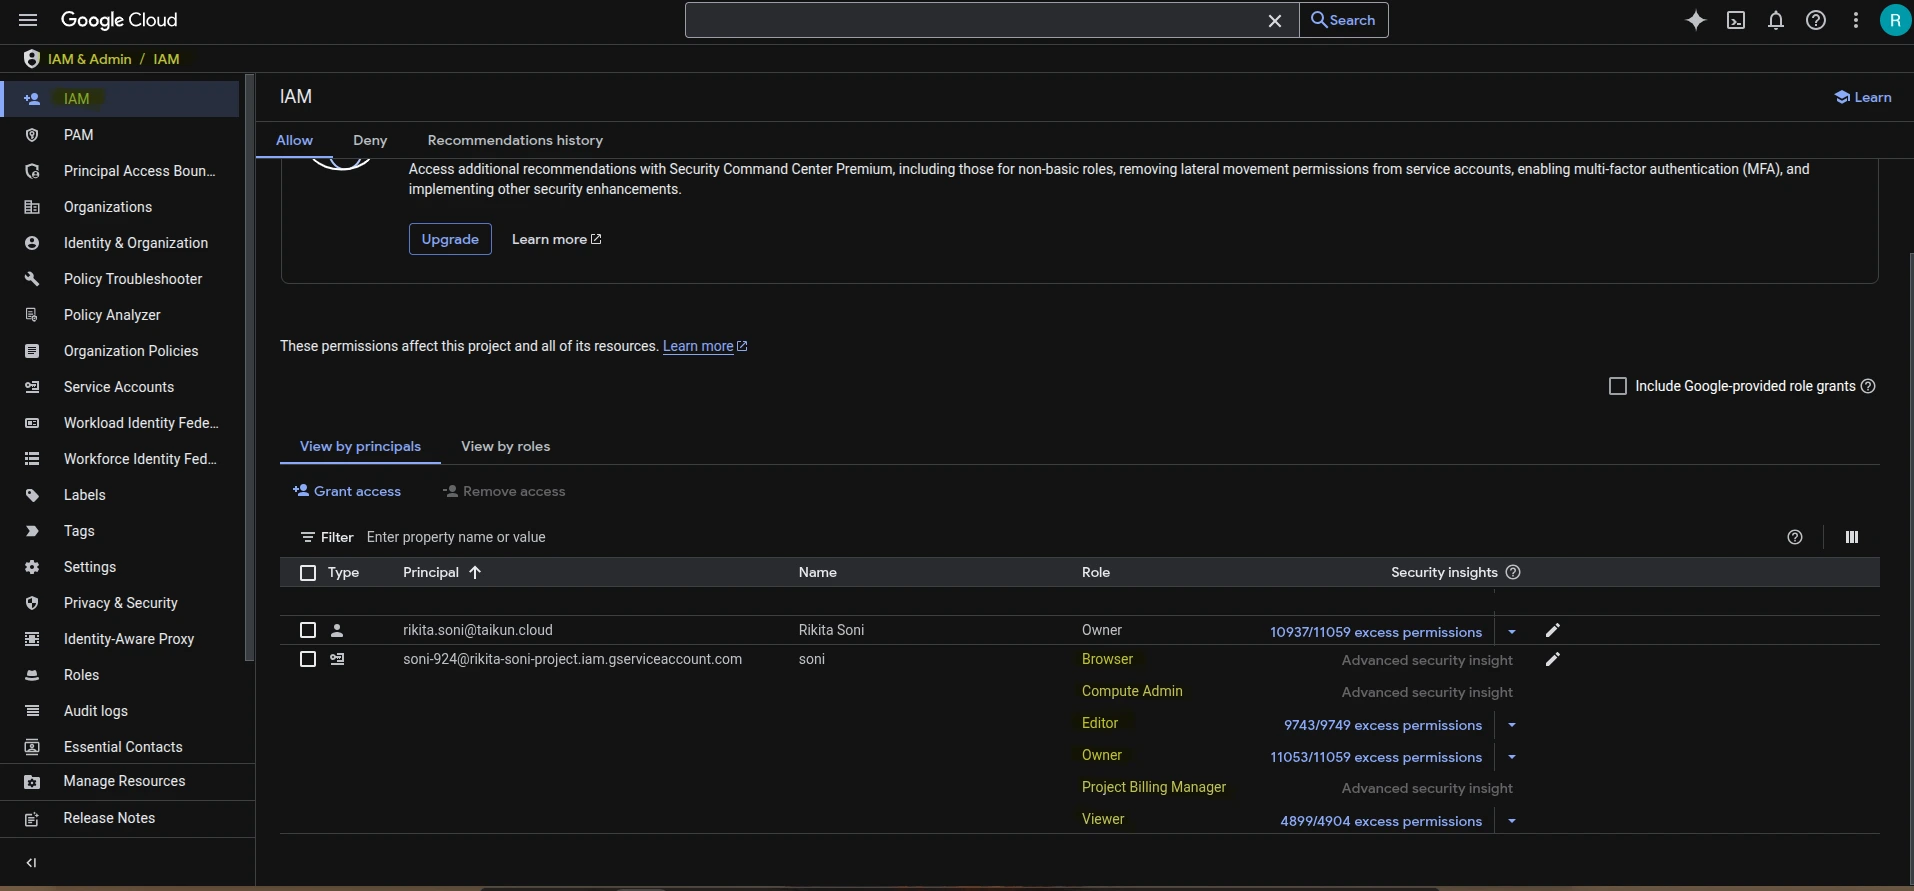
IAM Access
Step 4: Give Billing Access
- Open the main menu (☰) and go to Billing.
- Click "Manage Billing Accounts" and choose your billing account.
- Click "Account Permissions" → "Add Principal".
- Add the service account and assign:
- Billing Account Administrator
- Billing Account User
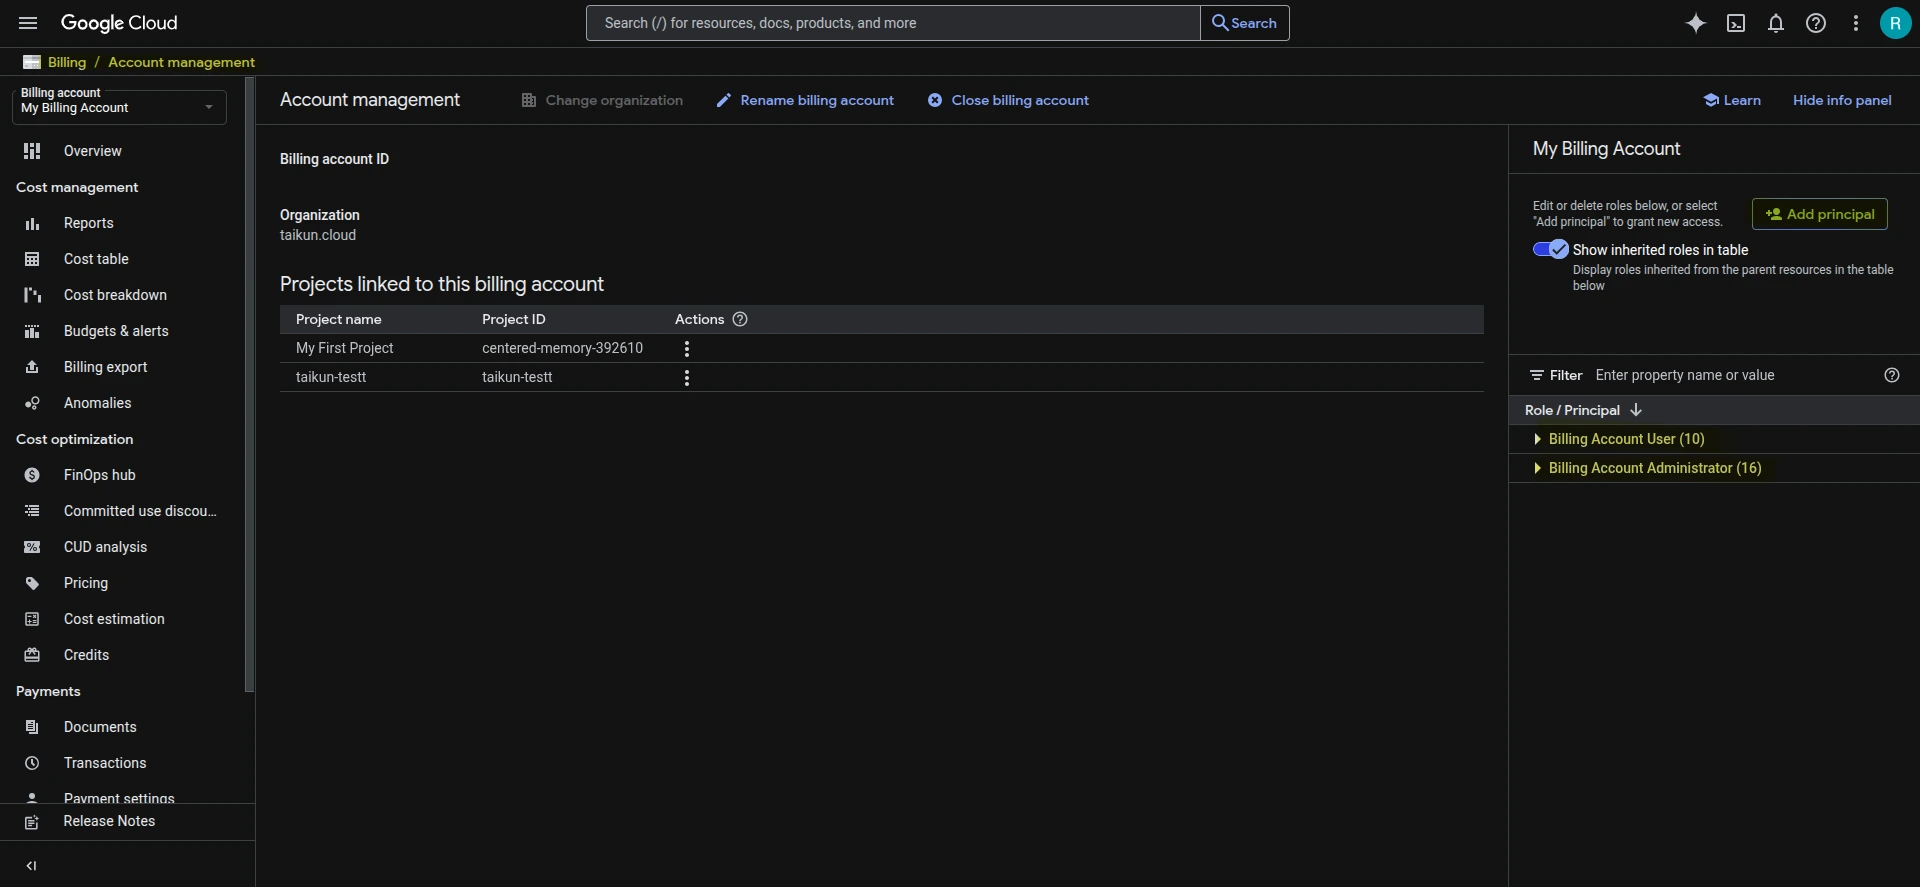
Give Billing Access
Step 5: Enable Required APIs
Before creating the cluster, enable the following services:
- Compute Engine API
- Cloud Resource Manager API
- Cloud Billing API
- Kubernetes Engine API
To enable them:
- Go to APIs & Services > Library
- Search each API and click "Enable"
Step 6: Find Kubernetes Clusters
- Use the search bar at the top of the console.
- Type "Kubernetes Engine" and select "Clusters."
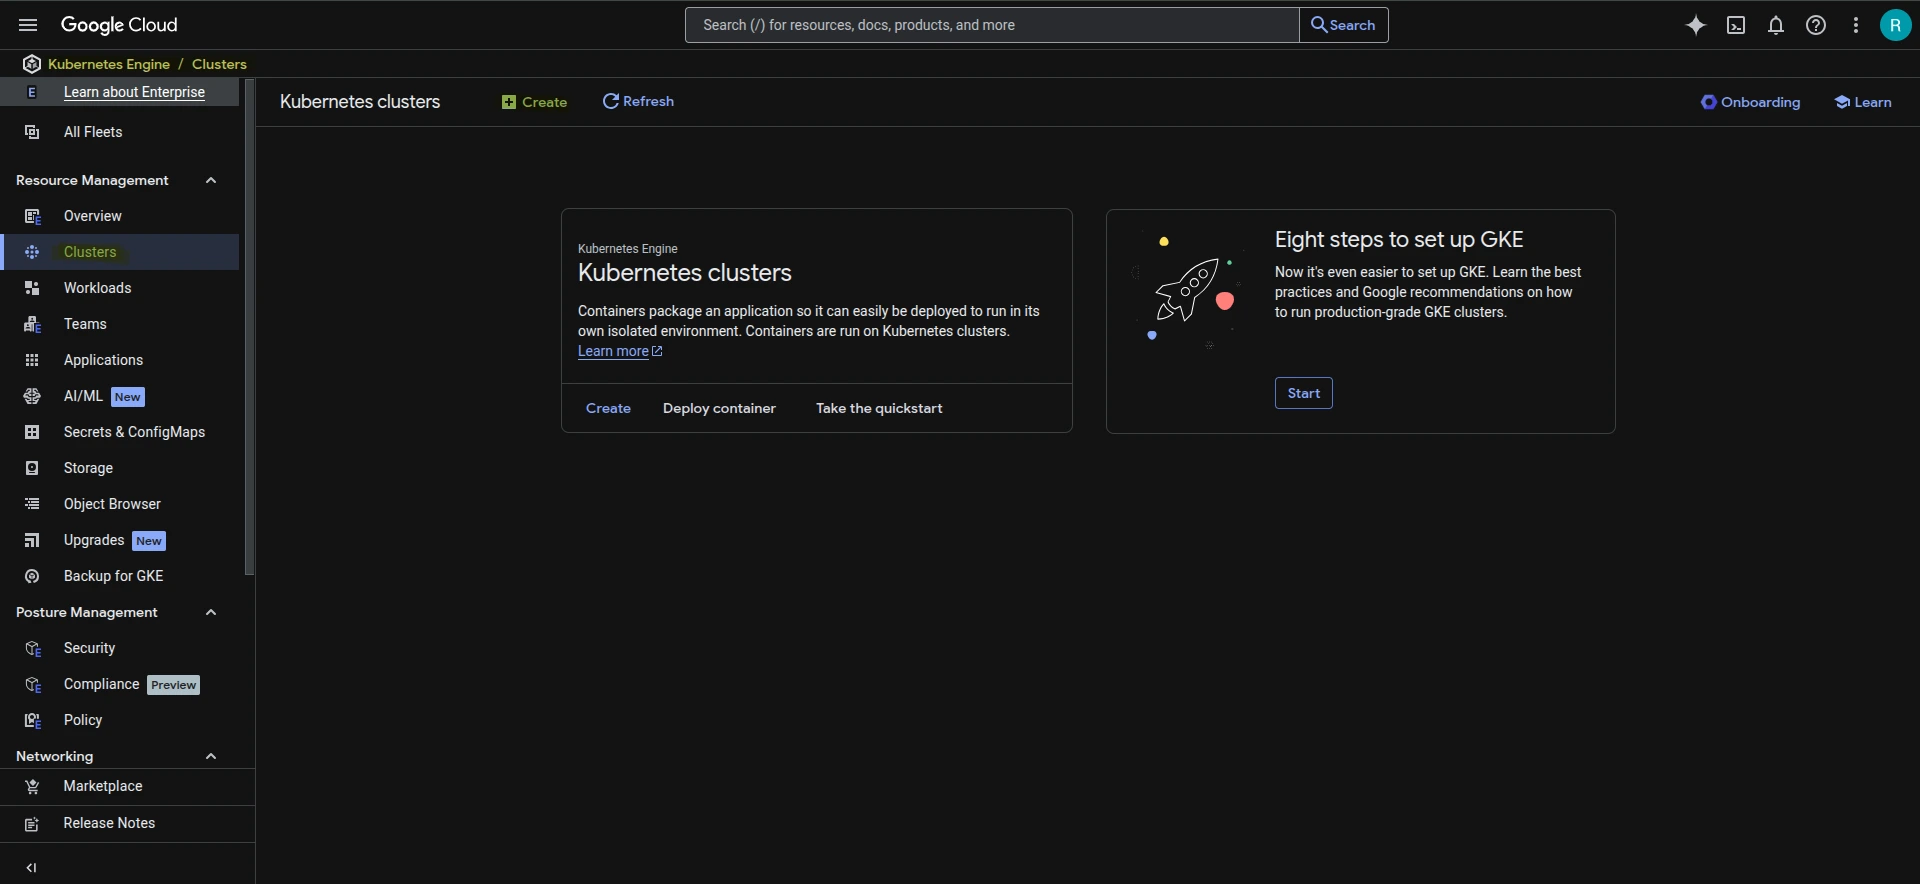
GKE Cluster
Step 7: Start Creating the Cluster
- Click "Create".
- Enter a cluster name (names cannot be changed later).
- Select your region.
Step 8: Register the Cluster to a Fleet
During cluster creation, you’ll see an option to register the cluster to a Fleet. This is optional. If you choose to proceed:
- Check “Register cluster to the fleet”
- Enter a fleet name
- Click “Next” to continue
Note
Registering to a fleet helps organize clusters for centralized management and enables multi-cluster features. It’s useful for advanced setups but not required for basic use.
Step 9: Configure Networking
- In the Networking tab, review and enable the required options:
- Enable VPC-native traffic routing
- Set networking policies as needed
- Click "Next".
Step 10: Set Advanced Settings
-
In the Advanced Settings tab, enable additional options like:
- Cloud Logging
- Monitoring
- Security features
-
Click "Review & Create"
Step 11: Final Review
- Double-check all your selections:
- Region and zone
- Fleet settings (if applicable)
- API configurations
- Networking and security settings
Step 12: Create the Cluster
- Click "Create" to start provisioning.
- It usually takes around 15 minutes.
Step 13: Wait for the Notification
- Once your cluster is ready, you'll receive a notification. You can now start using your GKE cluster!
What's Next?
After your cluster is created:
Run:
- Start deploying your Kubernetes workloads.
GKE Cluster via Google Cloud CLI
Step 1: Create a VPC Network
First, create a new Virtual Private Cloud (VPC) network that the GKE cluster will use:
--subnet-mode=autocreates subnets automatically in each region.- Replace
my-networkwith your preferred network name if needed.
Step 2: Create the GKE Cluster
Now create your GKE cluster within the network:
gcloud container clusters create cluster \
    --zone us-central1-a \
    --num-nodes=2 \
    --machine-type=e2-standard-2 \
    --enable-ip-alias \
    --enable-autoupgrade \
    --enable-autorepair \
    --network my-network
--zone: The GCP zone where the cluster will be deployed.--num-nodes: Number of nodes in each default node pool.--machine-type: VM type for the nodes.--enable-ip-alias: Enables VPC-native IP addressing.--enable-autoupgrade: Automatically upgrades the cluster's nodes.--enable-autorepair: Automatically repairs unhealthy nodes.--network: Specifies the VPC network to use (created in Step 1).
What’s Next?
Once the cluster is created, fetch cluster credentials to start using kubectl: