Creating an Azure Cluster for AKS
To create an Azure cluster for AKS, follow these two steps:
1. Create cloud credentials and add them to Taikun CloudWorks.
2. Create a cluster in the portal.
Step 1: Create Cloud Credentials
Cloud credentials can be created using both the UI and CLI. Let's discuss each method in detail.
Creating Cloud Credentials via UI
1. Login to Azure Portal:
Log in to your Azure portal using your credentials.
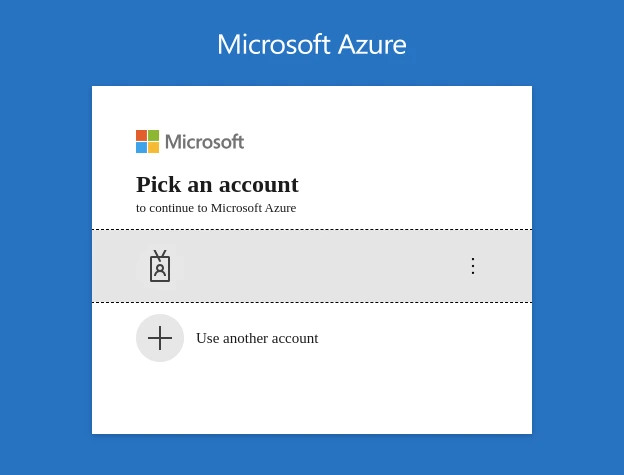
Login
2. Register a New Application:
- Navigate to App Registrations and list all applications.
- Click on + New Registration.
- Enter a name for the application (this will be the user-facing display name).
- Select Supported account types as Accounts in this organizational directory only (Default Directory only - Single tenant).
- Click Register.
- After registration, you will see the Client ID (Application ID), Object ID, and Tenant ID (Directory ID).
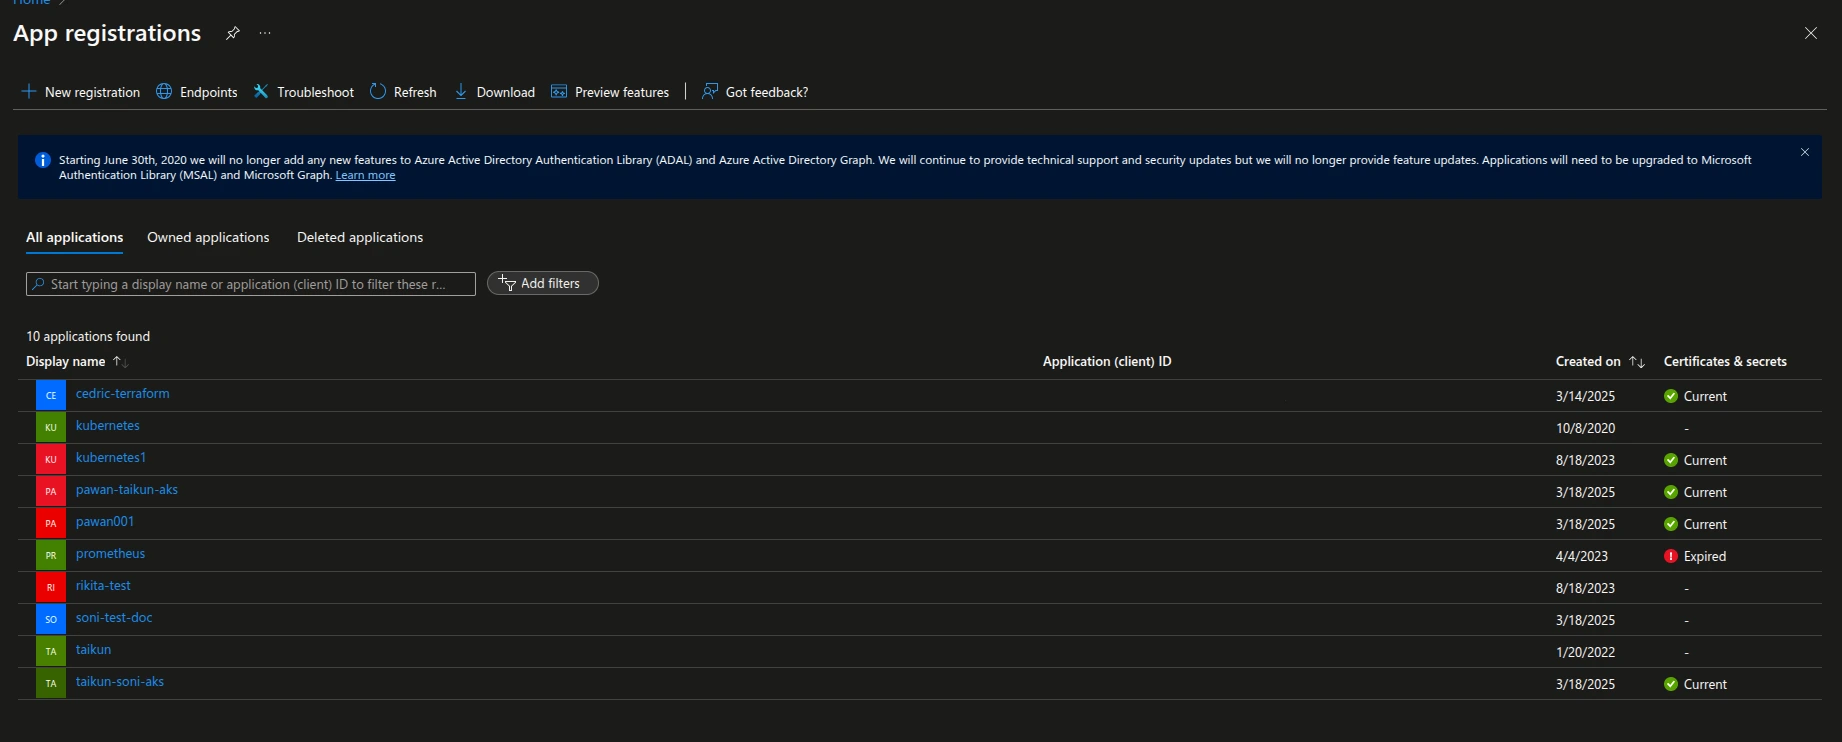
App Registration
3. Assign Subscription to the Application:
- Navigate to Subscriptions in the portal.
- Go to Access Control (IAM) and click on + Add Role Assignment.
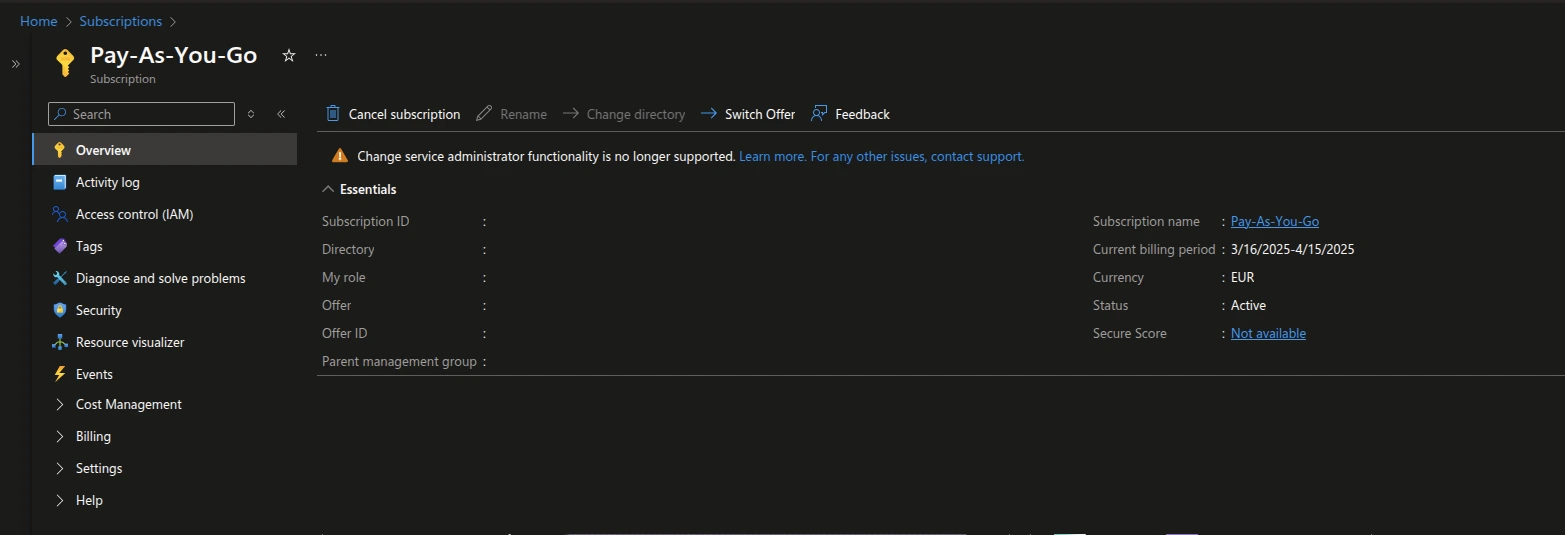
Subscriptions
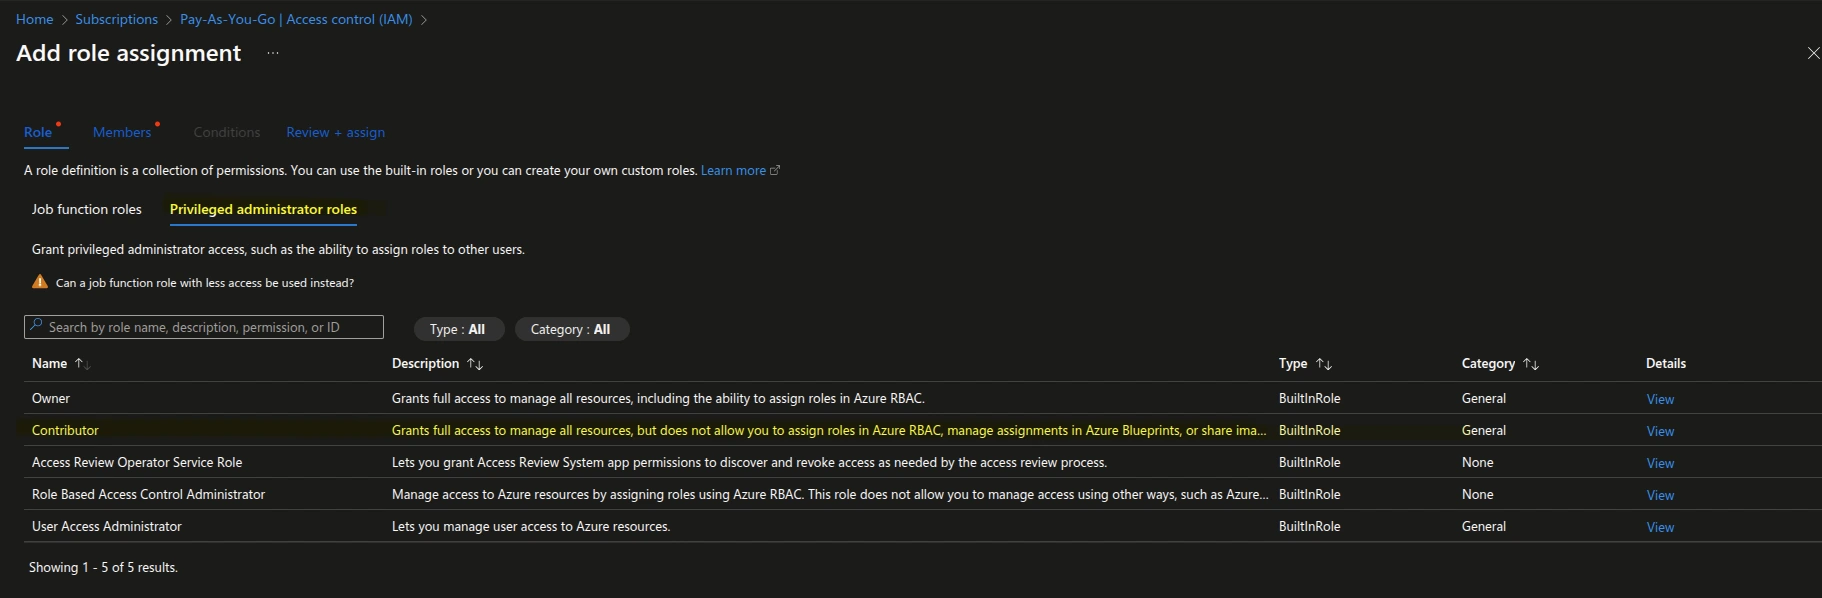
4. Add Role Assignment
- In the Add Role Assignment window, complete the following:
- Role: Select Contributor from the Privileged Administrator roles and click Next.
- Member: Set Assign access to as User, group, or service principal.
- Click + Select Members and choose the registered application.
- Click Review + Assign to confirm your selection.
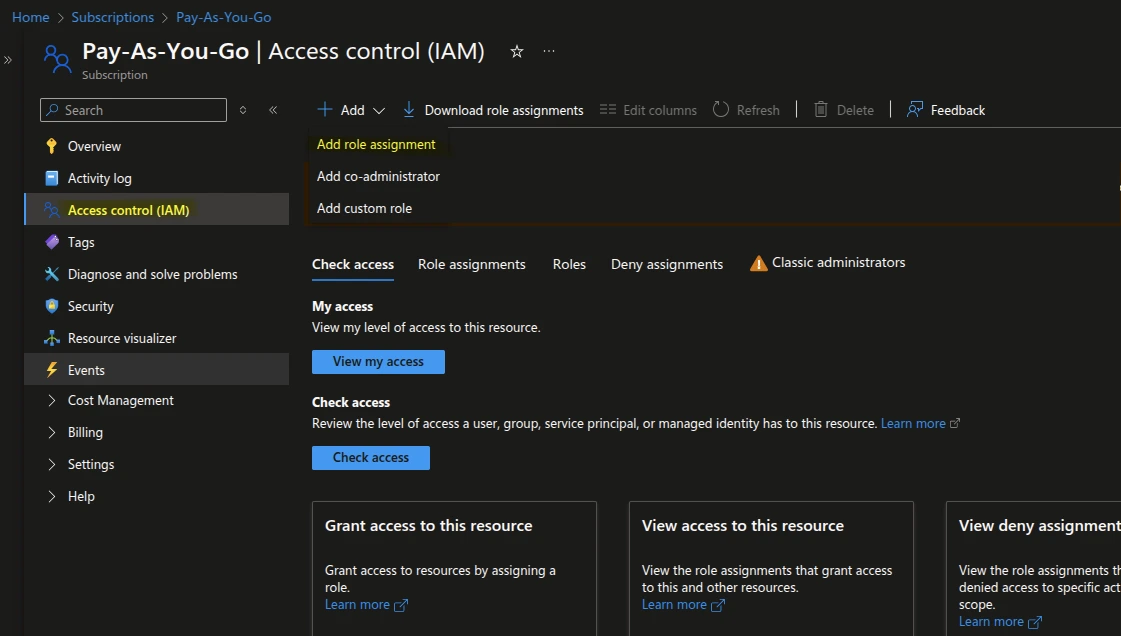
Add role
Member
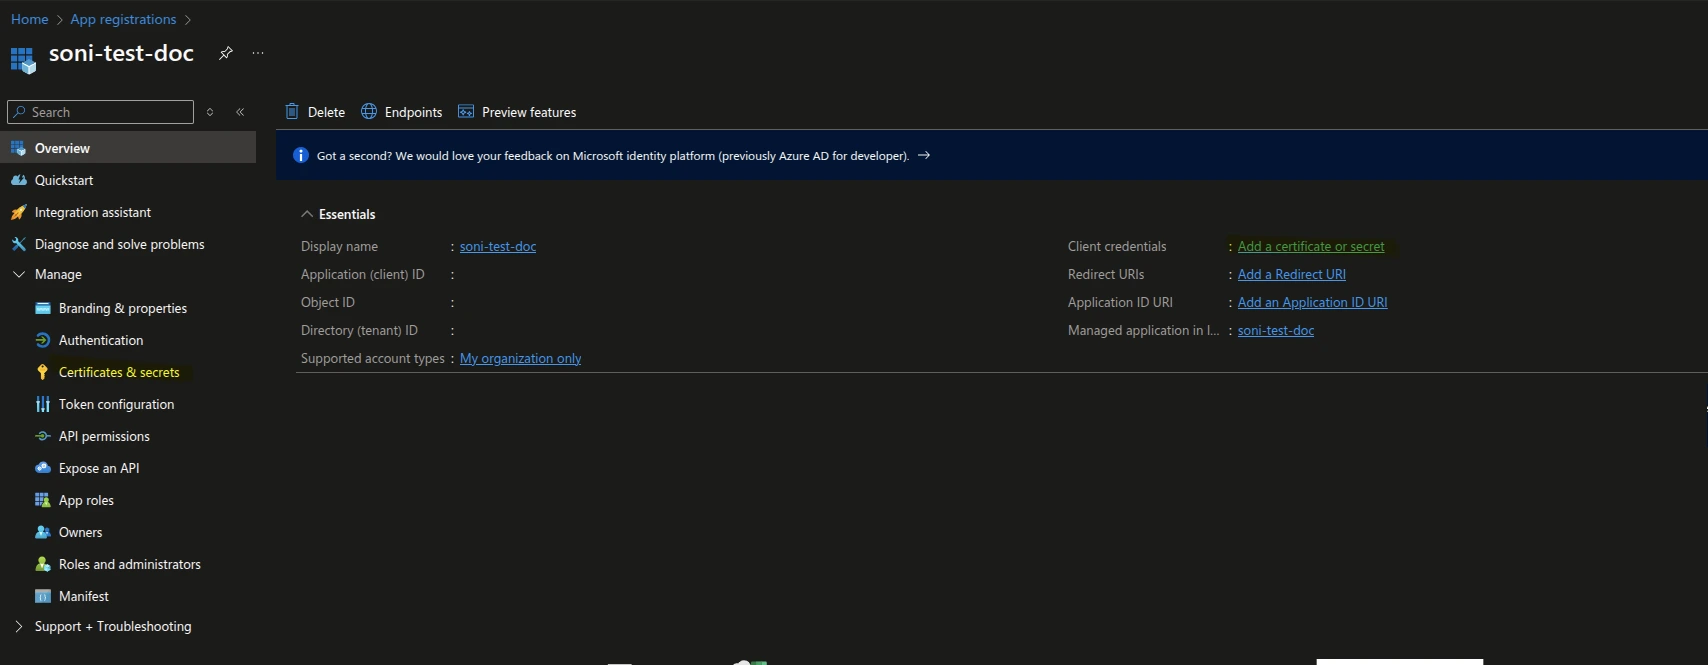
5. Generate a Client Secret
- Go to your registered application and navigate to Certificates & Secrets.
- Click on + New client secret and enter a description and expiration period.
Note
Make sure to copy the secret value immediately, as it will not be accessible later.
Certificate Secrets
Creating Cloud Credentials via CLI
1. Login to Azure:
- Open your terminal and run the following command:
- You will be redirected to the Azure portal to log in. After logging in, the tenant and subscription list will appear in the terminal.
- If you have multiple subscriptions, select your desired subscription by entering the corresponding number.
2. Create an App Registration:
Run the following command to create an application:
- The terminal will display all mapping details and elements of your applications.
3. Assign Role and Generate Credentials:
Run the following command to create a service principal with required role:
az ad sp create-for-rbac --name "name-of-app-registration" --role "Contributor" --scopes /subscriptions/{subscription-id}
- The output will contain:
{
  "appId": "b0bb56XX-XXXX-XXXX-XXXX-XXXXXXXXXXXX",# client_id
  "displayName": "name-of-the-app",
  "password": "slm8Q~XXXX_XXXXX_XXXXXXXXXX",# secret
  "tenant": "8e15c4c4-XXXX-XXXX-XXXX-XXXXXXXXX"
}
Add Cloud Credentials to Taikun CloudWorks
-
Navigate to Taikun CloudWorks Cloud Credentials: Go to Taikun CloudWorks’s Cloud Credentials page in the Credentials section.
-
Add Cloud Credentials:
- Click on + Add Cloud Credentials and select Azure as the provider.
- Fill in the required fields:
- Cloud Name: Enter an alphanumeric name (max 30 characters).
- Organization: Select your organization.
- Azure Client ID: Found in the application’s Overview section.
- Azure Client Secret: Copy the secret value from Certificates & Secrets.
- Azure Tenant ID: Found in the application’s Overview section.
- Subscription: Select the subscription name.
- Location: Choose a suitable location.
- Azure Zone Count: Specify the zone count as required.
- Click Add to save the credentials.
Step 2: Create Azure Cluster via CLI
Step 1: Set Variables
Replace values as needed.
RESOURCE_GROUP="my-aks-cluster-rg"
CLUSTER_NAME="my-aks-cluster"
LOCATION="eastus"
NODE_COUNT=3
VM_SIZE="Standard_B2s"
Step 2: Create a Resource Group
Step 3: Create AKS Cluster
az aks create \
  --resource-group $RESOURCE_GROUP \
  --name $CLUSTER_NAME \
  --node-count $NODE_COUNT \
  --node-vm-size $VM_SIZE \
  --enable-managed-identity \
  --enable-addons monitoring \
  --generate-ssh-keys
Step 4: Get Credentials for kubectl
Step 5: Verify the Cluster
You should see the AKS nodes in a "Ready" state.
Step 3: Set Up the Ingress Controller
Verify the StorageClass
Install NGINX Ingress Controller
Azure recommends using the NGINX Ingress Controller for AKS.
kubectl create namespace ingress-nginx
helm repo add ingress-nginx https://kubernetes.github.io/ingress-nginx
helm repo update
helm install nginx-ingress ingress-nginx/ingress-nginx --namespace ingress-nginx
Verify the Ingress Controller
Look for an external IP under EXTERNAL-IP. It may take a few minutes.
Step 4: Create an Ingress Resource
Create an Ingress rule to expose your application. Create an Ingress YAML file (ingress.yaml):
apiVersion: networking.k8s.io/v1
kind: Ingress
metadata:
  name: my-app-ingress
  namespace: default
  annotations:
    nginx.ingress.kubernetes.io/rewrite-target: /
spec:
  ingressClassName: taikun
  rules:
  - host: EXTERNAL-IP
    http:
      paths:
      - path: /
        pathType: Prefix
        backend:
          service:
            name: my-app-service
            port:
              number: 80
Replace EXTERNAL-IP with your domain or IP.
Apply the Ingress
Verify the Ingress
You should see an external IP for your Ingress Controller. Your Azure cluster for AKS is now fully configured and operational.