Creating an EKS Cluster in Auto Mode
This guide walks you through setting up an Amazon EKS cluster in auto mode using the AWS Management Console and CLI. It includes steps to configure networking, storage, access permissions, and load balancer support.
1. Deploy VPC and EKS Cluster
1.1 Create a New VPC
- Go to the VPC Console
- Select “VPC and more” to create a new VPC
- Leave default settings: 2 private subnets and 2 public subnets
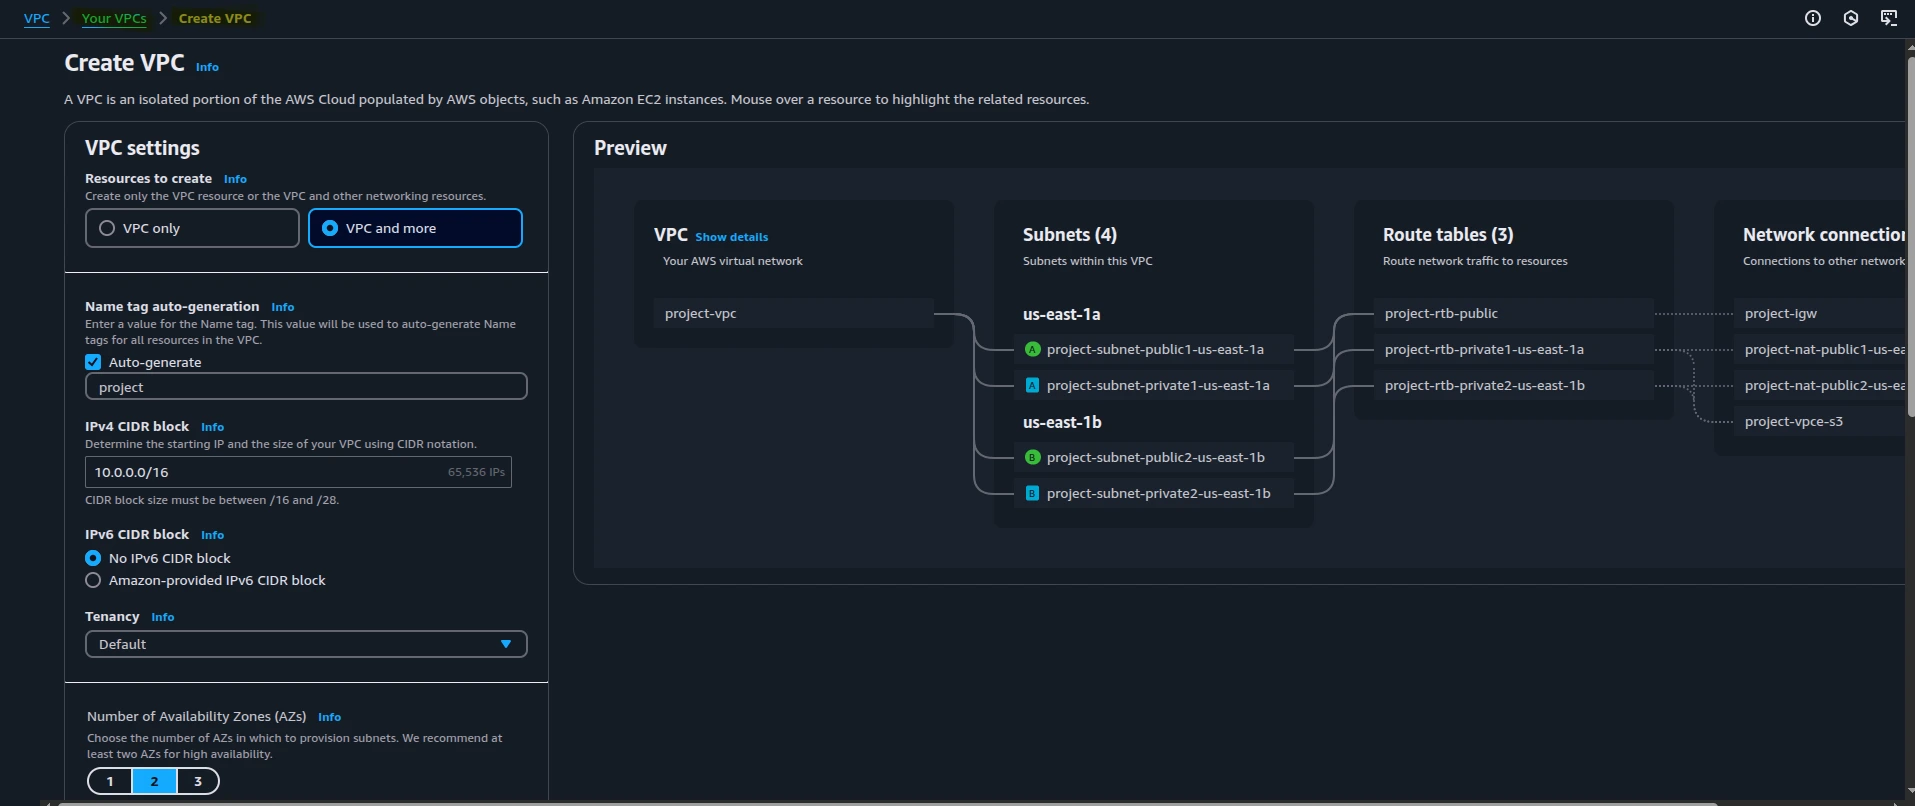

Create VPC
Important: Modify NAT gateway configuration - Change NAT Gateway to 1 per Availability Zone
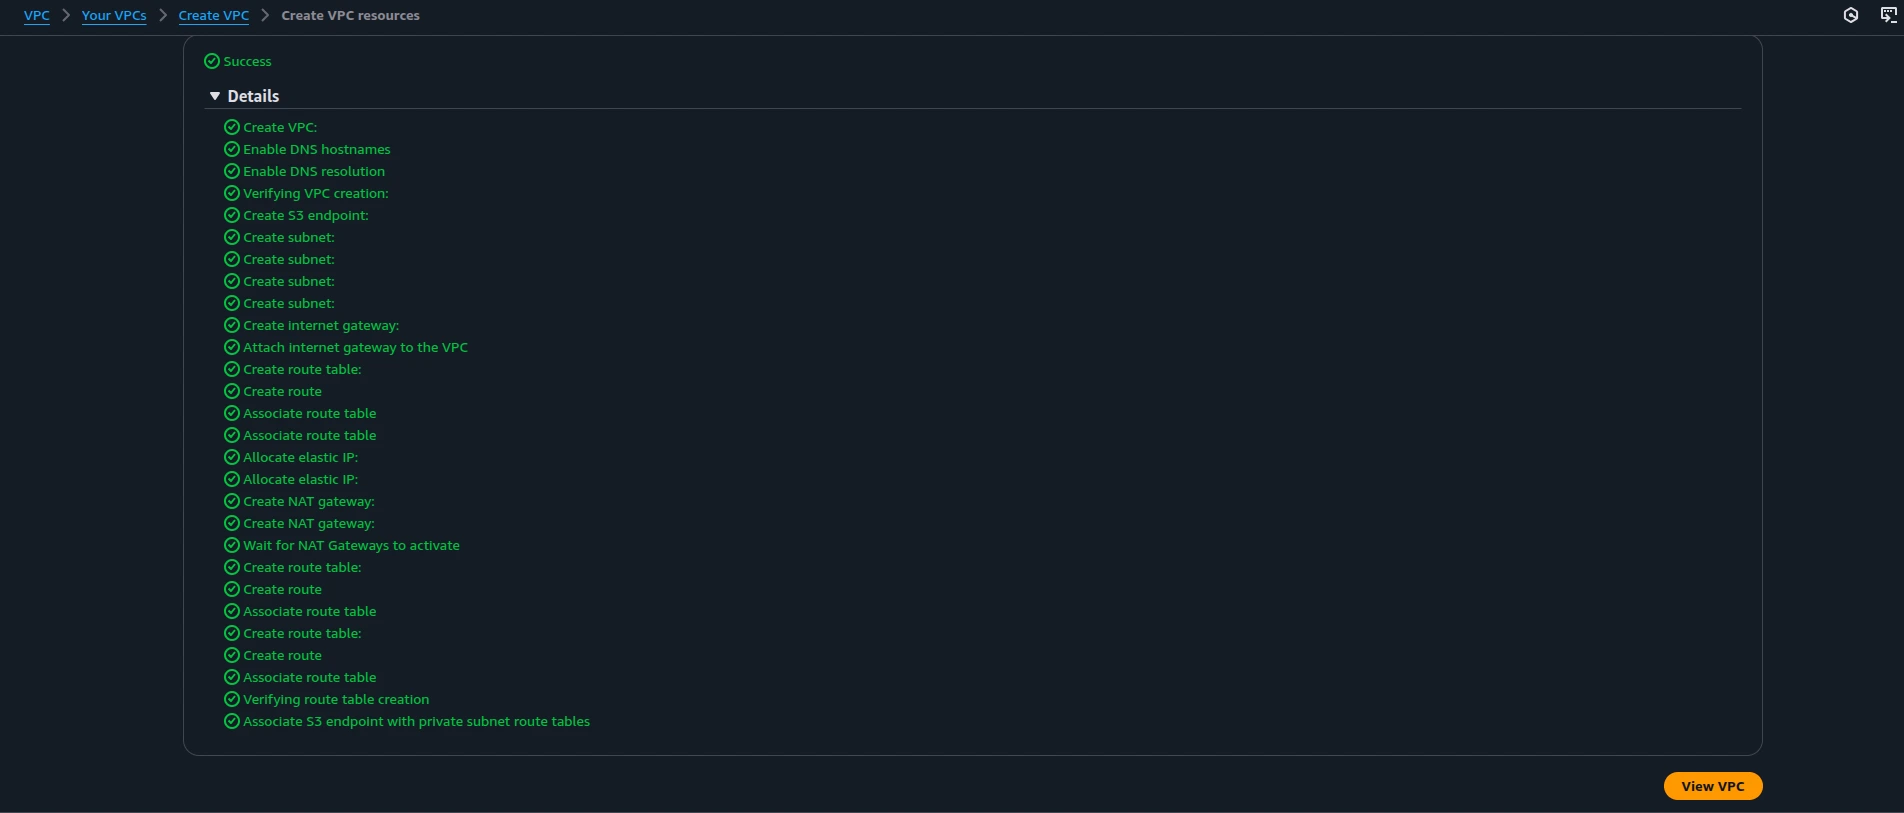
Create a VPC Resources
VPC
1.2 Create EKS Cluster
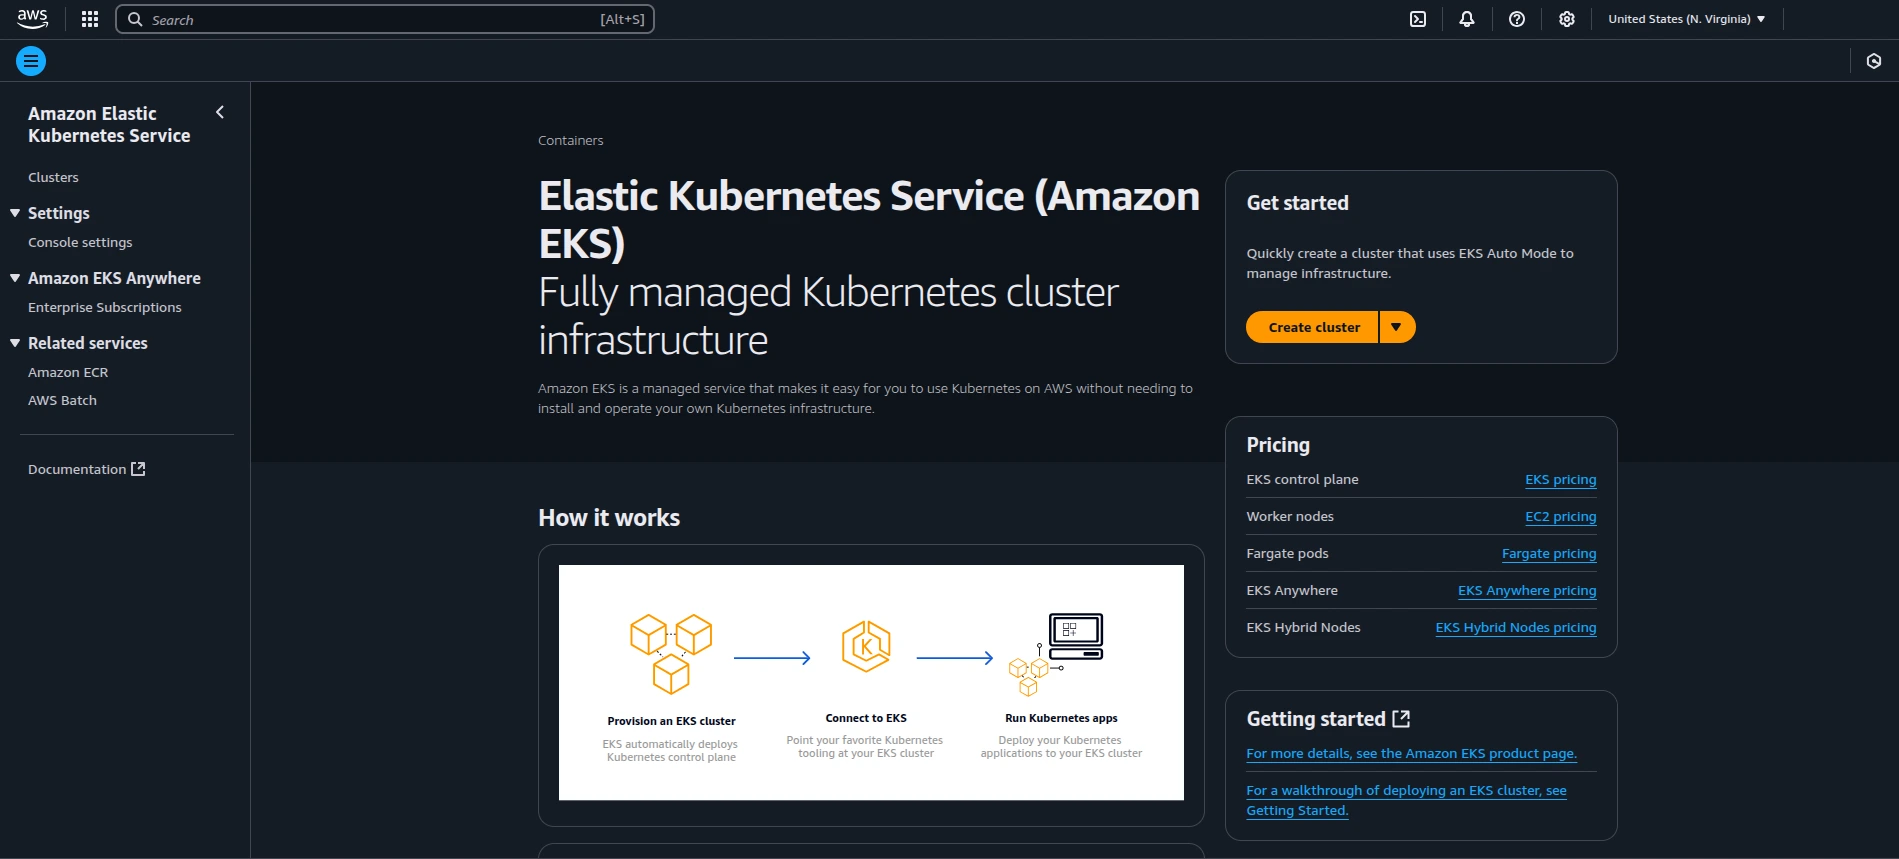
- Go to Elastic Kubernetes Service (EKS) → Add Cluster → Create
Create EKS Cluster
- Cluster name:
taikun-demo06 - Use Recommended IAM roles (create them if not present)
- Select the VPC from step 1.1
- Choose subnets (should be auto-selected)
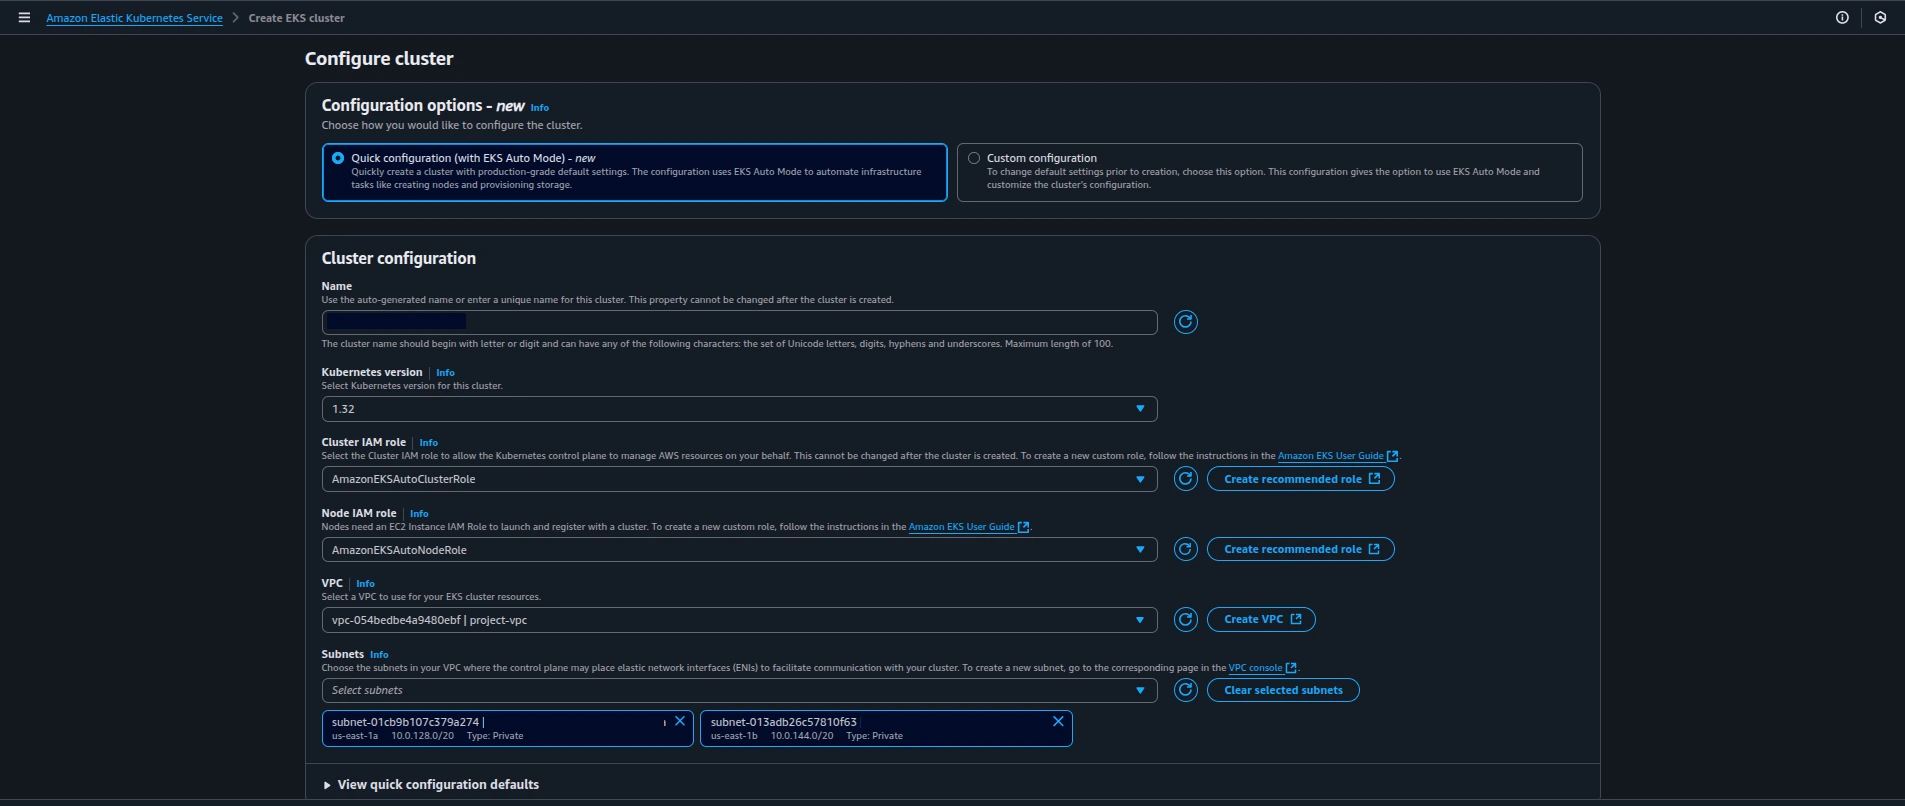
Configure Cluster
- Deploy the cluster - this may take ~15 minutes

Creating Cluster
1.3 Connect to the Cluster
Once the cluster is ready:
You should see the cluster nodes listed.
2. Create a Working StorageClass
The default gp2 storage class created by EKS is deprecated in favor of gp3. To replace it:
2.1 Deleting Existing StorageClass
2.2 Create a New Defautl StorageClass
Apply the following manifest to create gp3- based default storage class:
kubectl apply -f - <<EOF
apiVersion: storage.k8s.io/v1
kind: StorageClass
metadata:
  name: auto-ebs-sc
  annotations:
    storageclass.kubernetes.io/is-default-class: "true"
provisioner: ebs.csi.aws.com
volumeBindingMode: WaitForFirstConsumer
parameters:
  type: gp3
  encrypted: "true"
EOF
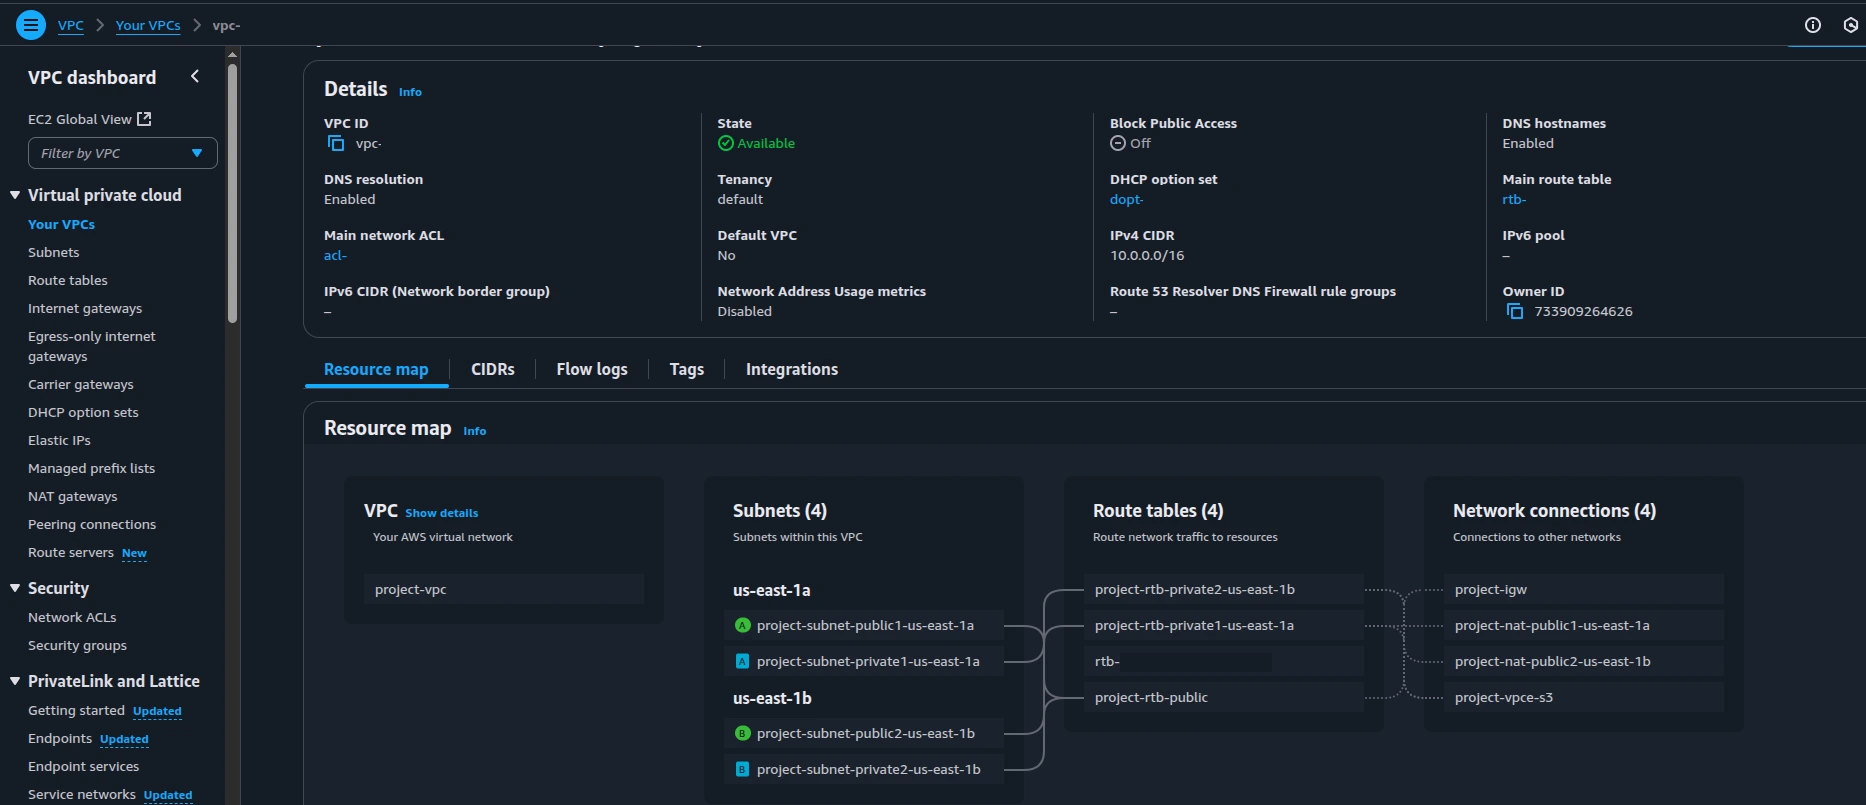
3. Enable LoadBalancer by Tagging Public Subnets
To allow the creation of LoadBalancer-type services, public subnets must be tagged properly:
Required Tag:
| Key | Value |
|---|---|
kubernetes.io/role/elb |
1 |
Tag both public subnets in your VPC with this key-value pair via the VPC console or CLI.
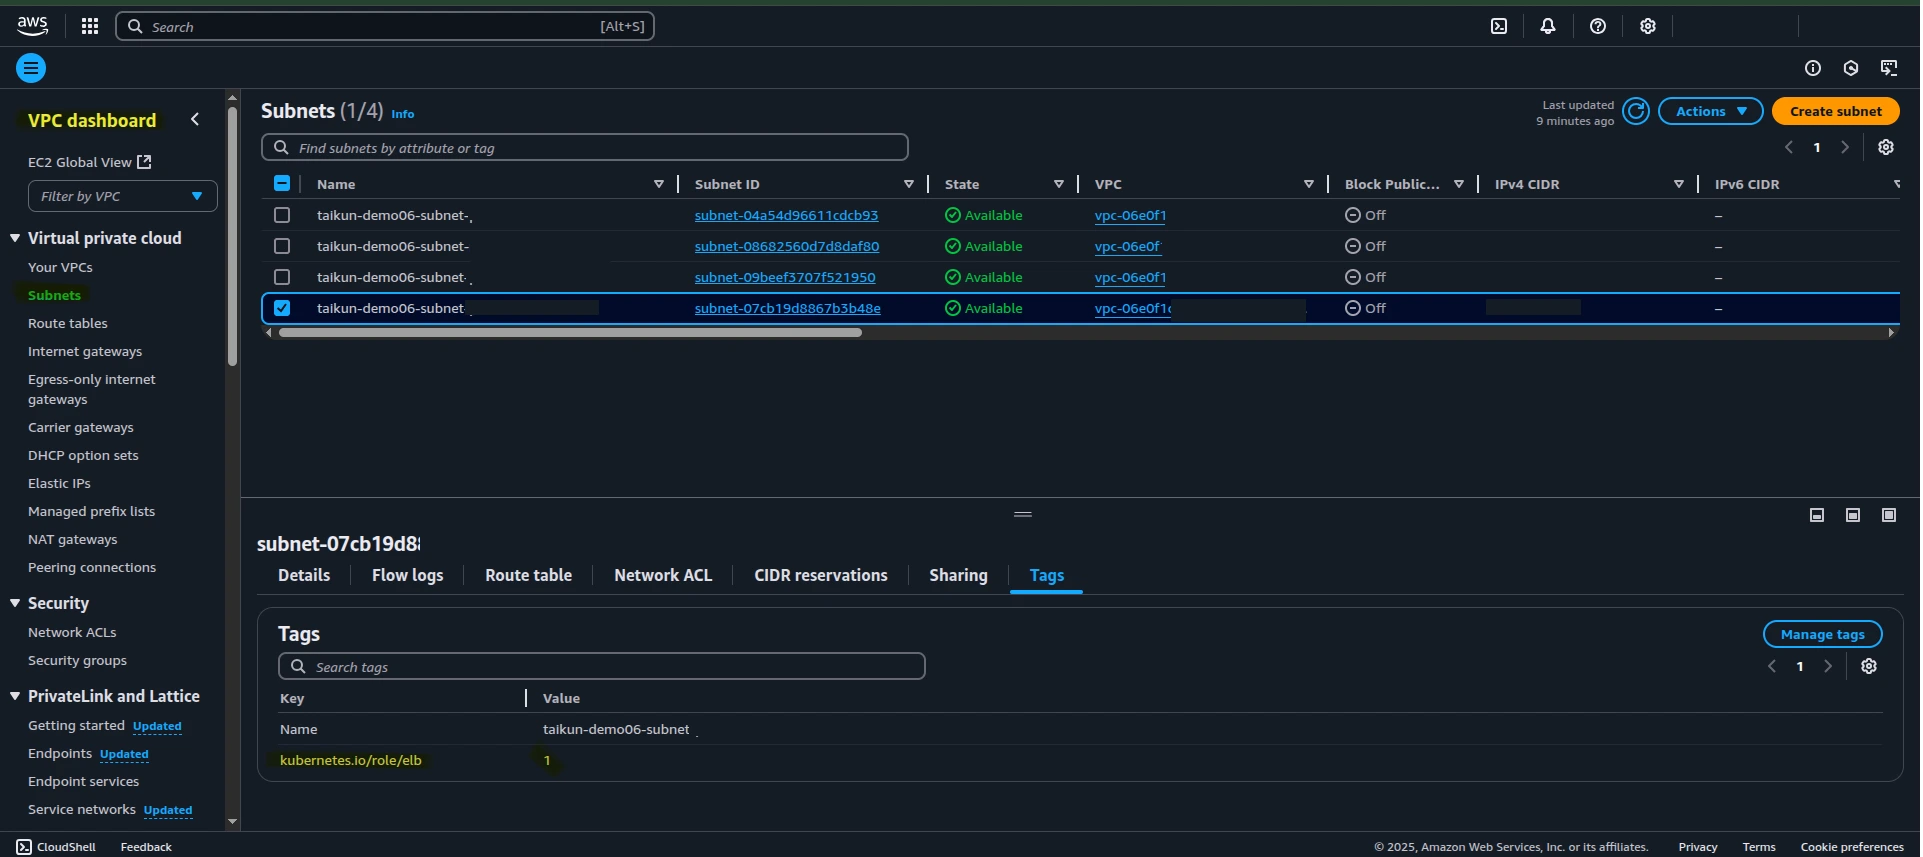
VPC Dashboard
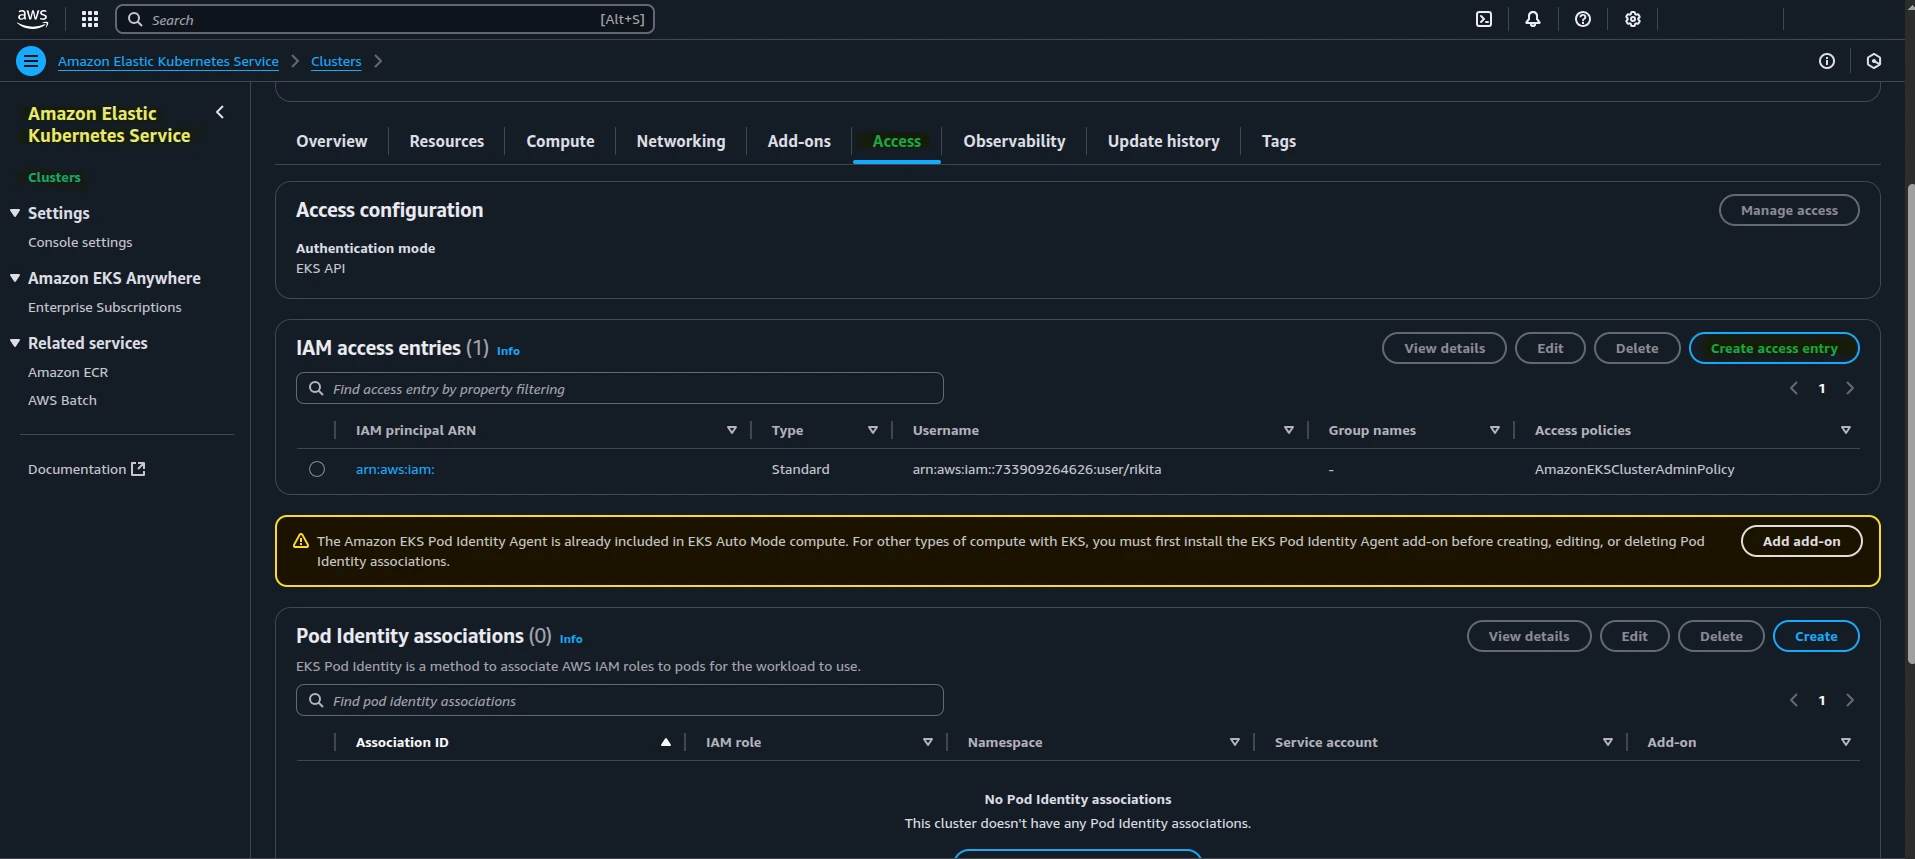
4. Add Access to the Cluster
If you or your team need access to the EKS cluster:
Option A: Admin Access
Attach the following IAM policy to your role:
AmazonEKSClusterAdminPolicy
Option B: Read-Only Access
Attach:
AmazonEKSAdminViewPolicy
Manage access in the “Access” tab of your EKS cluster configuration in the console.
Cluster Access
Creating an EKS Cluster via CLI
This guide walks you through provisioning a fully functional EKS cluster using the AWS CLI, including VPC setup, cluster creation, node group deployment, and configuration.
Prerequisites
Before you begin, make sure you have:
- AWS CLI v2 installed and configured
- kubectl installed
- eksctl installed
Step-by-Step: Create EKS Clsuter via CLI
1. Create the EKS Cluster (with VPC and Node Group)
eksctl create cluster \
  --name taikun-demo06 \
  --region eu-west-3 \
  --nodegroup-name taikun-workers \
  --enable-auto-mode
This will:
- Create a VPC with public and private subnets
- Launch an EKS cluster named
taikun-demo06 - Set up a managed node group with 2–4 EC2 nodes
Note
The process may take 10-15 minutes.
2. Verify the Clsuter and Nodes
After the cluster is ready:
3. Set up a Default StorageClass (gp3)
EKS creates a gp2 storage class by default. To use gp3, delete the old one and apply a new manifest.
kubectl apply -f - <<EOF
apiVersion: storage.k8s.io/v1
kind: StorageClass
metadata:
  name: auto-ebs-sc
  annotations:
    storageclass.kubernetes.io/is-default-class: "true"
provisioner: ebs.csi.eks.amazonaws.com
volumeBindingMode: WaitForFirstConsumer
parameters:
  type: gp3
  encrypted: "true"
EOF
4. Enable LoadBalancer Support
Tag your public subnets so EKS can provision external LoadBalancers.
1. Get the VPC ID:
aws eks describe-cluster \
  --name taikun-demo06 \
  --region eu-west-3 \
  --query "cluster.resourcesVpcConfig.vpcId" \
  --output text
2. List the subnet IDs in the VPC:
aws ec2 describe-subnets \
--filters Name=vpc-id,Values=<your-vpc-id> \
--query 'Subnets[*].{Name:Tags[?Key==`Name`]|[0].Value,ID:SubnetId,AZ:AvailabilityZone}' \
--output table
3. Tag each public subnet with:
aws ec2 create-tags \
  --resources <subnet-id-1> <subnet-id-2> \
  --tags Key=kubernetes.io/role/elb,Value=1
5. Grant Access to Other IAM Users/Roles
To grant access to others, modify the EKS access configuration:
1. Create or edit the aws-auth config map:
2. Add a new IAM role or user: