Standalone Profile
Manager | Partner
Standalone Profiles set specific policies for creating Virtual Machines within your clusters. You can see all Standalone profiles created for your Organization in this tab. Each profile is described by its ID, Name, Organization, and associated Virtual Machines.
Standalone Profiles
Available Actions
- Unlock/lock: Profile cannot be used if locked.
- Update: Edit profile properties.
- Delete: Remove not used profile.
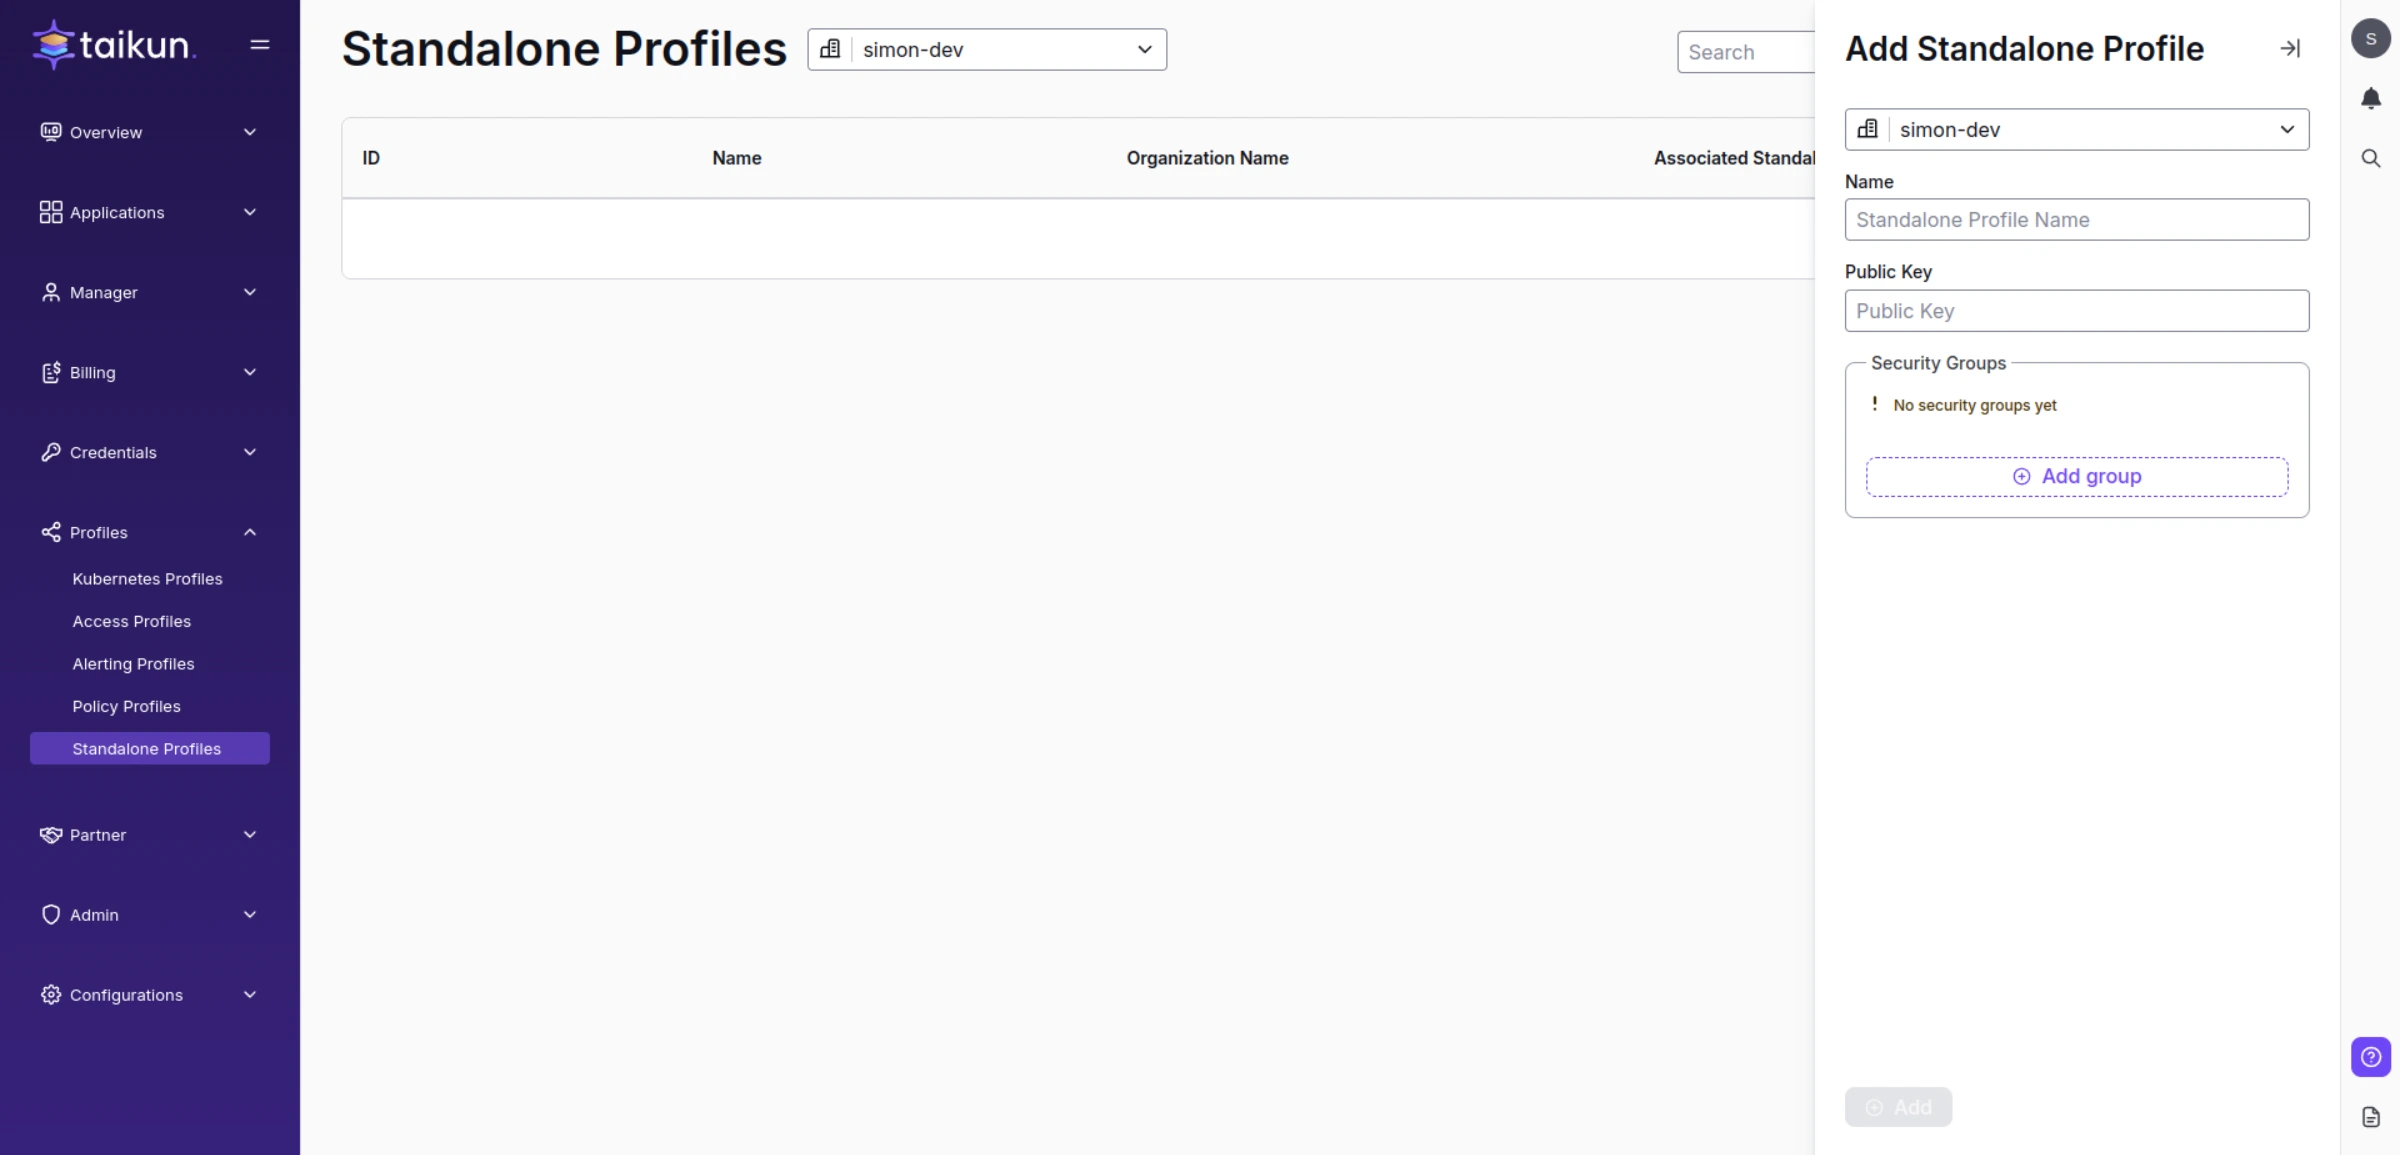
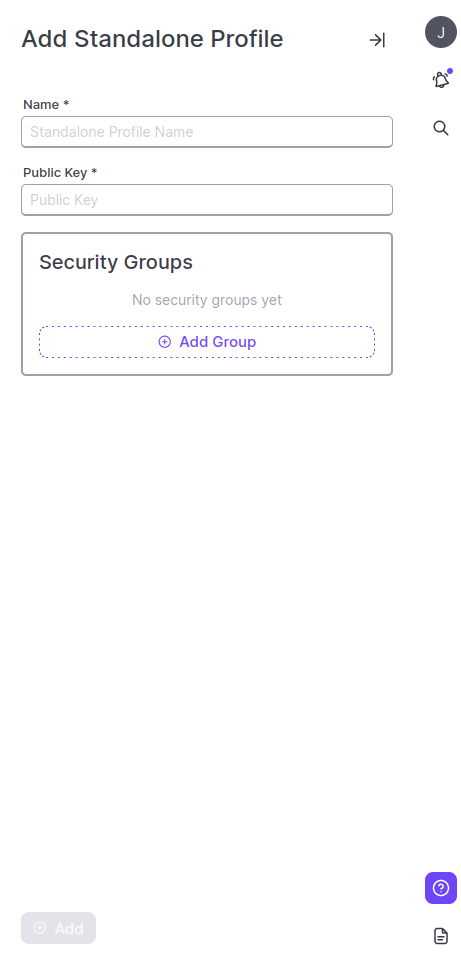
Add Standalone Profile
To create a new profile for accessing your Virtual Machine
- First Step: Head to the Standalone Profile section in the left-hand navigation panel.
- Second Step: Press “+ Add Standalone Profile” icon in the top right corner.
- Third Step: Specify the profile’s properties:
Profile name
Public key – insert public SSH key to access your VM
You can add a Security Group to your Profile, if you want to allow SSH access
1. First Step: Click "Add Group".
2. Second Step: Choose a Name: use at least 3 alphanumeric characters.
3. Third Step: Choose a type of Protocol:
ICMP: reports errors, generating messages to the source IP.
TCP: Uses the three-way handshake. Error-free data is more important than speed.
UDP: Focused on speed, processing info as fast as possible.
4. Fourth Step: Choose a Port Minimum Range and a Port Maximum Range: which port you want to allow access. Default port for SSH is 22.
5. Fifth Step: Choose a Remote IP Prefix: Fill in the IP of the machine you want to allow use.
6. Sixth Step: Click "Add" in the bottom right.
Warning
Profile can be edited only during creation
Add Standalone Profile